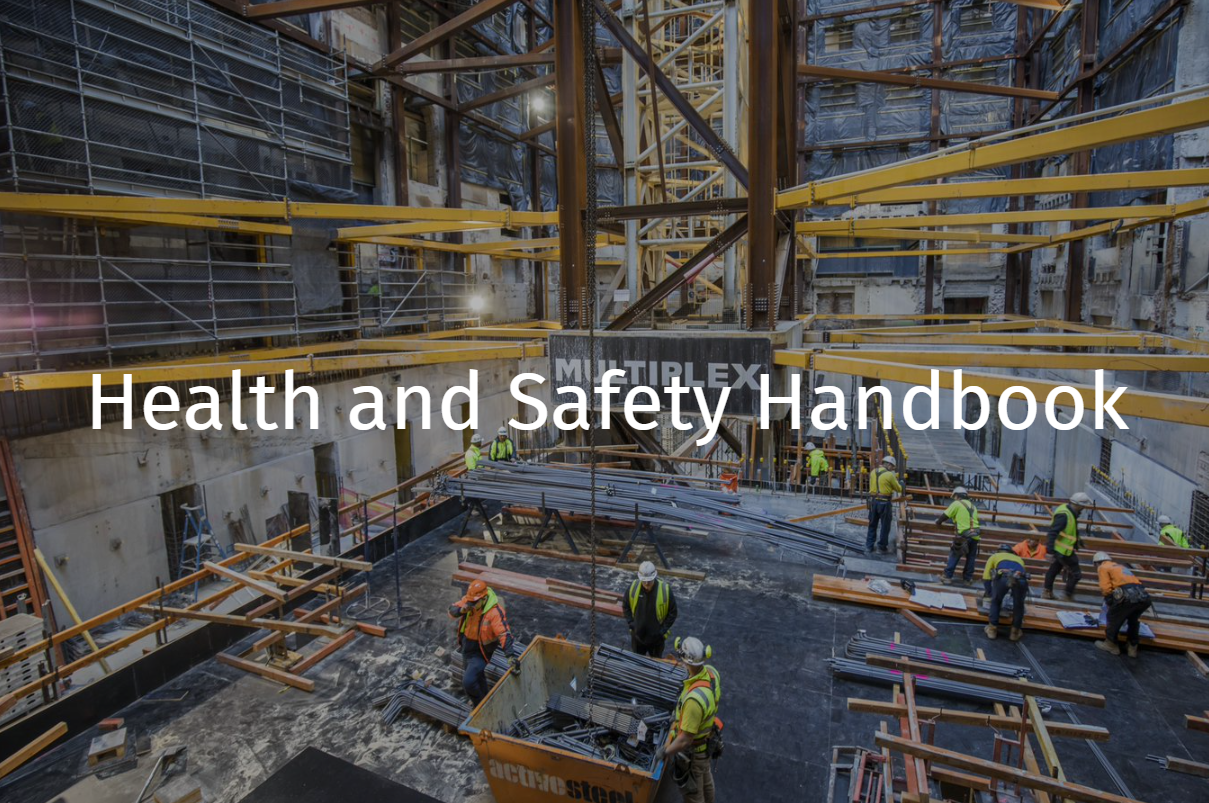
Pool Construction
Concrete Construction
Before Starting the Pour
- Workshop to detail of the sequence of activities.
- Ensure that all participants attend.
- Outcomes must include a contingency plan for unplanned events such as delivery delays or changes in the weather. Determine acceptable cold joint locations for unplanned stoppages and delays.
- Pour plan:
- how many CWs
- how many pumps/kibbles
- starting point
- the “S” pattern
- length of wet edge
- layer depth
- how long between each truck
- pour rate to meet formwork design
- how long between batching and placing
What is the finish required if any
On the Day
- Pre-start toolbox meeting to go through all the above.
- Check and make sure safe and suitable access is available.
- Ensure all the required tools are available.
- Ensure the appropriate number of vibrators, including a minimum 1 extra spare unit, is available.
- Test the units to make sure they work.
- Ensure adequate fuel is available.
- Ensure the vibrator shaft length is appropriate for the job.
- Ensure the vibrator diameter is appropriate for the job.
- Confirm the weather conditions are suitable.
- Ensure aliphatic alcohol is available.
- Ensure plastic sheets or tarps are available in case of heavy rain.
Slab Placing
- Start placing concrete in a corner to ensure concrete is pushed up hard against the formwork forcing air out of the corner.
- Place concrete onto concrete so air does not get trapped between blobs of concrete from the pump etc.
- Create a pad of concrete first by spreading it out evenly using shovels or hard-faced rakes; not using the vibrator. Pads should be 1200 to 1500 mm square.
- Placement should follow an “S” pattern.
- Continue to build up a series of pads of concrete ahead of the vibrator person.
- Vibrator person to walk into the pad behind the pump lineman and vibrate in an even pattern starting in the corner and working his/her way out.
- Insert the vibrator vertically for thick slabs, thin slabs the vibrator may be inserted at an angle.
- Vibrator should be inserted at even spacing (ensure overlap of the radius of influence of the selected vibrator tip) as if painting the ground and not walking back over the already vibrated concrete.
- Minimum time for each vibrator insertion is 7 seconds or until all the air bubbles stop.
- Do not place concrete onto vibrator; it will not compact it but segregate it.
- Insert the vibrator only after pad is put down in an even pattern starting in the corner and moving outwards.
- Thick slabs are to be poured in layers of not thicker than 400mm. Therefore, the placement rate must ensure the wet edge is maintained both vertically and horizontally.
- Commence curing of the concrete immediately after finishing is complete.
Wall Placing
- Start in one corner filling to about 400mm high.
- Move the pump hose along the wall, maintain the 400mm depth to about 2000mm away from the starting point.
- Insert the vibrator at the starting point for not less than 7 seconds or until all the air bubbles stop.
- Continue to move the pump hose along the wall in front of the vibrator.
- Vibrator insertions are to ensure overlap of the radius of influence of the selected vibrator tip.
- Continue pour in lifts of 400mm repeating the preceding steps until the top of the pour is reached.
- As each layer is poured ensure the vibrator tip penetrates the preceding layer to blend the 2 layers together.
- In long walls it may be advisable to have 2 teams using 2 pumps starting at diagonally opposed corners
Crack Limits
- Cracking of more than 0.2mm must be repaired with “Armaflex V” or other approved equivalent, and strictly in accordance with the manufacturer’s recommendations.
- Smaller cracks must be assessed by the designer for any further action.
Formwork
- Formwork must not use any system of ties that requires through bolting or embedment such as coil ties, she bolts, snap ties or similar. Z-bars may be used subject to their complete removal and hole reinstatement within the pool wall as defined by the Design Engineer.
- The proposed formwork system shall be submitted to the Design Engineer for review and comment prior to the commencement of any work.
Reinforcement
- Reinforcement must:
- Be spaced adequately to permit compaction of the concrete whilst maintaining the specified design spacing.
- Be fixed rigidly to prevent movement during concrete placement.
- Achieve a minimum 50mm cover of concrete from the concrete face in contact with the waterbody, and a minimum of 40mm cover of concrete everywhere else.
- NO STEEL BAR CHAIRS ARE PERMITTED
- Tire wire must not protrude into concrete cover zone/void.
Curing
- To achieve full design strength correct curing is imperative.
- Curing of the concrete pool shell shall be as follows:
- Minimum of 7 days from the completion of the base slab pour to the placement of any pool wall(s) until a minimum concrete strength of 25MPa has been achieved.
- The formwork should not be removed from walls till the concrete reaches 32MPa, or 72 hours after the walls have been poured.
- Upon completion of the final pour to complete the concrete shell, a minimum dry curing time of 28 days prior to filling the pool to administer the necessary hydrostatic water testing.
- Upon completion and passing of the hydrostatic water test, the pool shell is to be drained and dry cured for an additional 14 days to provide a minimum total dry cure period of 42 days.
- Upon observing the minimum total dry cure period of 42 days, and rendering, waterproofing or tiling works may proceed. Note that the same dry cure period shall apply for the application of the liner system associated with the selected stainless steel shell system that is to be founded on a concrete base slab.
- Curing times of applied membranes, tiling adhesives, grout and joint caulking shall be strictly in accordance with the manufacturer’s specifications and requirements.
Rendering to Pool Walls
- Rendering should only be undertaken after the shell has been fully cured and the walls have been thoroughly dried and cleaned off.
- The use of a water-resistant bonding agent (not poly vinyl acetate (PVA)) in accordance with BS EN 15824, “Specifications for external renders and internal plasters based on organic binders”, is recommended
- A curing period of 3 weeks should be allowed before tiling or finishing works commence.
Testing
Given the critical nature of the element, it is highly recommended that the testing is carried out by someone suitably qualified but independent of the designer or builder of the pool
Matters Precedent to Testing
Visual inspection and identification of concrete defects
- Mark all locations on drawings.
- Note size and width of cracks and any other notable features that may affect watertightness or adhesion of applied finishes.
- Bug holes or blow holes more than 1mm are to be patched.
- Honeycomb sections of concrete to be noted on the drawings, then repaired with an approved repair compound. Extent of repair to be noted on drawings.
- Photographic records of all repairs to be included with “As-Built” plans.
Concrete Cover Meter Survey
- Carry out a systematic cover meter survey of all concrete to the internal areas of the pool shell and the coping.
- All locations where concrete cover is below the minimum are to be marked on drawings.
- Repairs must be carried out to all locations where cover is less than the specified minimum cover. An acceptable method is to paint the affected locations using “Intercrete 4841” applied strictly in accordance with the manufacturer’s recommendations to a minimum DFT of 2mm
Test Procedures
Leak Test
A hydrostatic water test to verify the watertightness of the pool shell prior to the application of any membrane for a concrete shell, or after the installation of the liner for a steel shell, shall be undertaken by filling the pool to maximum capacity at a steady rate not exceeding 750mm of water depth per 24 hours.
The soakage period, prior to commencing the test, must be a minimum of 2 days at maximum water test level, unless approved otherwise by the engaged engineer who is certifying the pool shell.
Allowance for evaporation must be made by filling a watertight steel bucket, at least 500mm diameter and 300mm in depth with open top, to within 75 mm of the top and anchoring this within the structure under test so that its position simulates the pool water surface under test. Any drop in level in the steel bucket may be assumed to be the evaporation loss.
The water test period shall then be administered for a minimum continuous period of 7 days unless approved otherwise by the engaged engineer who is certifying the pool shell.
The watertightness of the structure shall be deemed to be satisfactory if both of the following criteria are satisfied:
The water level over the 7-day test period must not drop by more than 1/500 of the average water depth of the structure under test, or 10 mm, whichever is the lesser. Allowance must be made for rainfall and evaporation.
No visible signs of leakage or porosity are observed anywhere on the structure or in any of the pool underdrains.
If the required water tightness test has been achieved, the pool can be slowly drained at the required rate. Not only does this test the water tightness but the procedure assists in correct curing and can be accepted as part of the required curing time.
Check on deflection and deformation of acoustic mounts.
Seek advice from the designers if tolerances are exceeded
Water Circulation Test
It is recommended that the dye test be repeated every 5 years to ensure that all components are still working effectively
Filling and Draining
- When filling, or refilling at any time, it should be done slowly, as slow filling and emptying permits stress re-distributions to occur which will greatly reduce the extent of cracking and possible damage to the swimming pool structural shell.
- Recommended maximum steady fill rate of not more than 750mm per 24 hours, with emptying being done at the same rate.
Document Control
Version 01 October 2021